

The Craft Corner: Book Earrings


Book earrings are a great way to show your love for your favorite books, and they make great conversation starters too! I've included a printable document with copies of the first two books in my Little White Flowers series, but you can also find free printable cover wraps online for some books in the public domain. Additionally, you can always design your own book covers.
Note: I forgot to take pictures of many of the steps while I was making these. The tutorial is similar to a book ornament tutorial I made back in my craft blog days that has more pictures, which you can find here. I made it while I was revising Little White Flowers, before I had an editor, cover team, or even knew what I would be doing with the manuscript once I finished it. It was a little piece of hope that someday I would have a published book, so even though it was a very silly mock cover, it still has a special place in my heart.
Tip: If you're planning on creating these earrings during a book club meeting, it may help to cut out the book covers and some strips of paper before the meeting to speed the process along.
Materials and tools:
Cardstock or matte photo paper
A color printer (or markers if you're designing your own book cover by hand)
White printer paper (can be scrap paper)
Two jump rings
Two ear wires
Two pairs of jewelry pliers
Sewing needle
Glue
Ruler
Pencil
Scissors
Cold laminate sheets (optional)
Template:
Here is the template I used to make my earrings:
I like to use these covers to make mini books and book ornaments as well, so I like to print many copies of the covers at once. If you're using these for a book club, you may want to print a bunch at once as well, but if you only need two, you can delete the extras before you print.
Directions:
1. Print out full cover wraps of your chosen books on cardstock or matte photo paper. The exact size is up to you, but I've found that resizing the cover wrap so that it is about 1.5" tall works really well. Alternatively, if you're drawing your own designs, use the ruler to mark out a rectangular section of cardstock with segments for the back cover, spine, and front cover connected in that order. Then have fun designing your book.
2. Once you have your book covers printed or drawn, cut out the covers. You may want to round the corners a little bit, as otherwise, they can be a little stabby.
3. Fold the covers along either side of the spine to create the book shape. You may find it helpful to score the sides of the spine with a ruler and pencil first. I generally line the edges of the spine one at a time along the edge of the ruler and bend the cover over the ruler.
4. Optional: If you're using laminate to protect the cover, cut off a strip at least half an inch wider and longer than your book cover and peel off the backing paper. While the cover is folded in book shape, carefully wrap the laminate around. Trim off any excess.

5. Next, it's time to create the pages. Using your ruler and pencil, section your paper into strips. If your book covers are 1.5" tall, make your paper strips 1" tall. For other dimensions, take the height of your book cover and subtract 0.5" to get the height of your strips. You will likely need about two strips per book, although if your spine is significantly wider or narrower than my book template, you may need more or fewer.
6. Cut out your strips and accordion fold them. You will want the folded strip to be narrower than your book by a small amount. This stuff can be tricky, as even small deviations in the width of your fold can make it so the pages will stick out over the edge of the book when you glue them in, so take your time.
7. Use a sewing needle to poke a small hole in the spine of your book about a quarter of an inch from the top.
8. Use the jewelry pliers to open one of the jump rings. Slide it through the hole in the spine and then flight it through the loop on the ear wire. Use the pliers to close the jump ring. If you can't tell by inspection, try the earring on to make sure that the ear wire is oriented so the front cover faces out when you're wearing the earring. If the back cover is what faces out when you put the earring on, open the jump ring again and flip the ear wire around.
9. Glue two accordion strips together to create one long strip and then fold the strip up to fit inside the book and glue in place. You can also glue the pages together to hold the book shut if you would like, although this is optional.
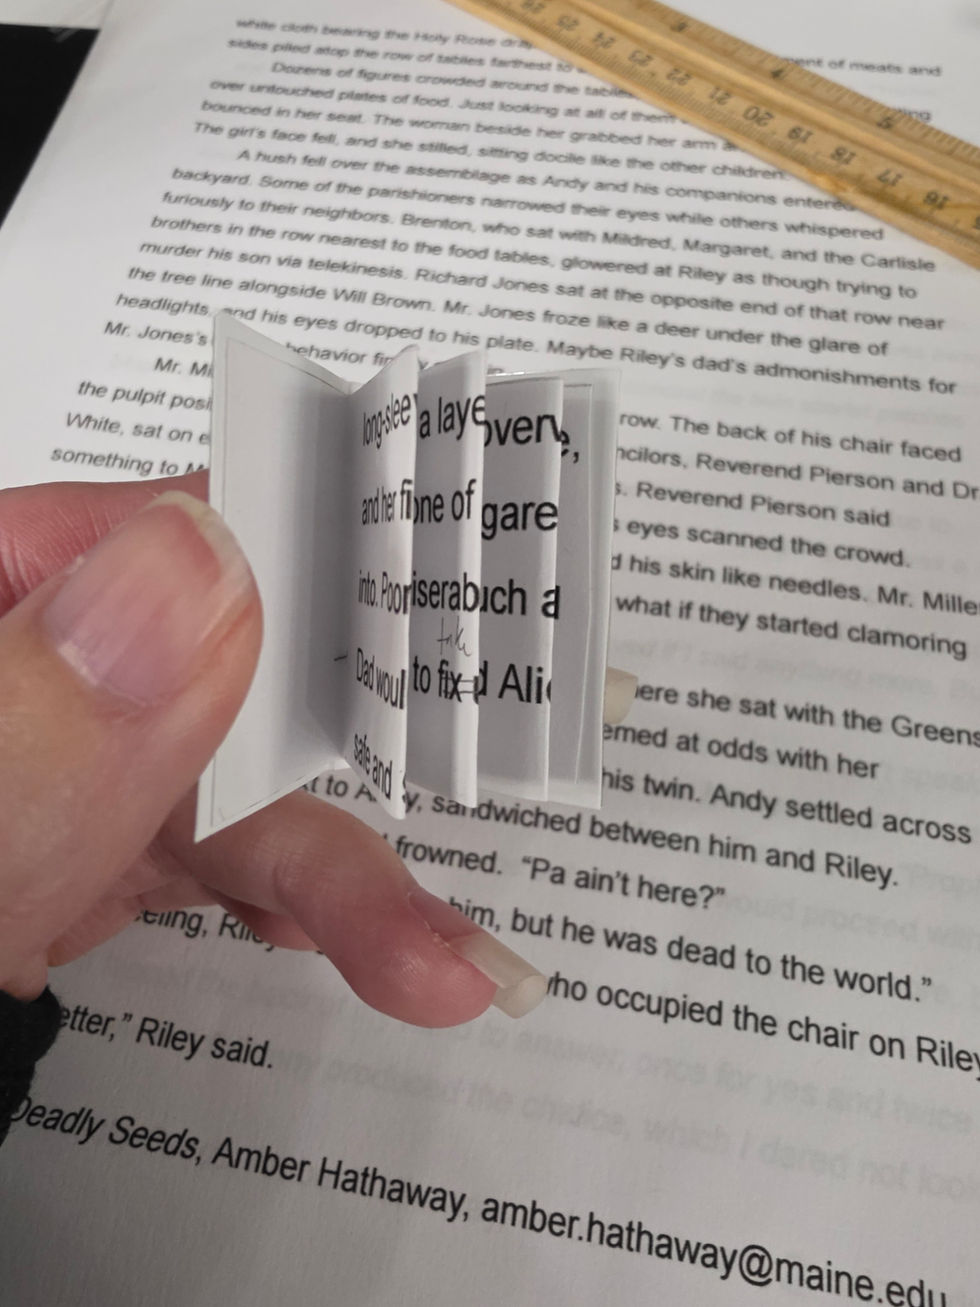
10. Let dry. Once both earrings have dried, they are ready to wear.
Fun fact: When making my book earrings, I used pieces of scrap paper from an earlier draft of Hallowed Deadly Seeds.


Comments